Bilge pumps are an essential component of any boat, responsible for removing excess water from the bilge or lowest part of the boat. However, like any mechanical device, bilge pumps can fail over time, making it essential for boat owners to know how to test and maintain their bilge pump system. In this blog post, we will explain what a bilge pump is and provide a complete walkthrough on how to test your bilge pump to ensure that it is working properly.
Table of Contents
ToggleWhat is a Bilge Pump?
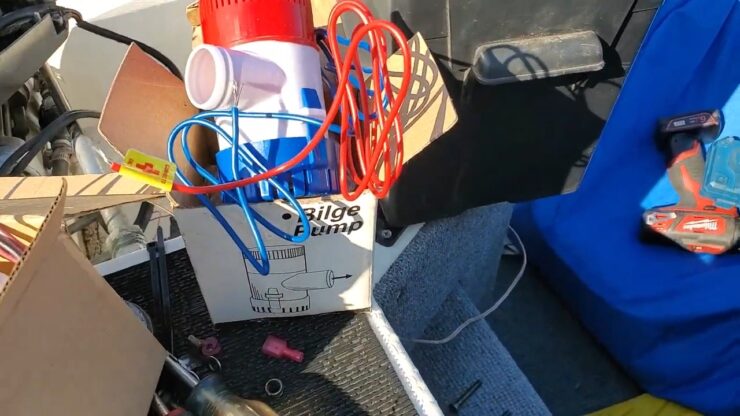
A bilge pump is a mechanical device designed to remove excess water from the lowest part of the boat or the bilge. This area of the boat is typically located in the hull, and water can accumulate here due to rain, waves, or leaks. A bilge pump is designed to automatically turn on and pump out any water that accumulates in the bilge, ensuring that the boat stays afloat and prevents damage to other systems, such as the electrical and engine systems.
So, how to test bilge pump?
Connect your multimeter’s positive probe to the float switch wire. Connect the negative lead from the boat’s electrical system. Then, hand-lift the float. If you see any voltage above 12.3 volts, your pump is most likely broken. Your pump may be broken even if your float switch is working properly.
But this is not applicable to all kinds of bilge pumps. Usually, there are 2 kinds of bilge pumps, the manual and the automatic. We have a step-by-step walkthrough for both of the types in our article.
But before we start, we need to identify what sort of bilge pump we are using.
How to Know the Bilge Pump is Automatic?
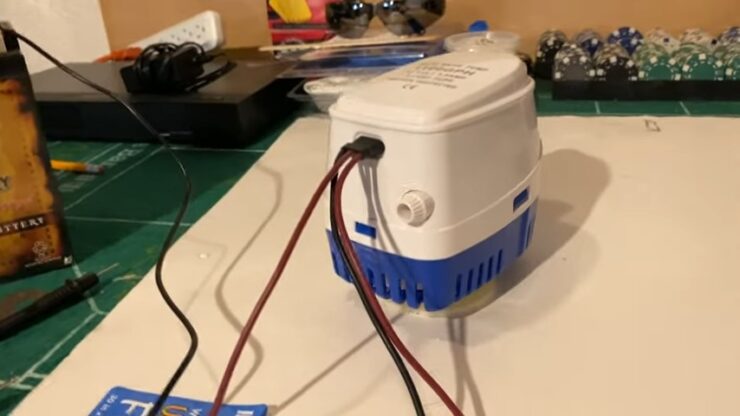
Most pumps feature an automated float switch that senses it when there is water in the bilge. The pump is turned on automatically with this switch. It is different from the fuel pumps and fuel pumps have different problems.
At the helm, there will also be a switch to bypass the automated float switch. This allows you to manually start the pump.
If your bilge pump doesn’t have an automated float switch, it is not automatically operated. It’ll almost certainly be manual.
Let’s get to the main part now that we know what kind of bilge pump we’re utilizing!
Manual Bilge Pump Test
Let’s find out how to test a bilge pump manuallly. This test involves,
- A battery
- A three-way switch
- An external float switch
- The bilge pump itself
The three-way switch connects to a battery, and the pump and float switch are attached to it. When you pick up on the float switch in this setup, it triggers when the 3 switch is in the run position.
Lifting the float switch does nothing if the three-way switch is in the center position. This is different from the boat ignition switch. However, you may manually activate it in the temporary position.
Let’s look at the measures you’ll need to take.
Step 1: Check The Fuse
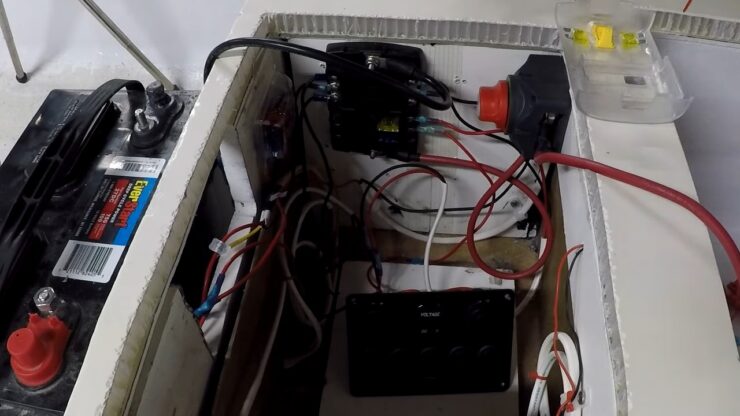
Look for battery power and double-check that the fuse is the right size. Check the loading end of the fuse with a test light to check whether it lights up.
Check the fuse’s battery side, which passes through the filaments and out to the load side. The fuse is OK if all sides glow up the test light.
Step 2: Make Sure the Three-Way Switch is Working
To test the three-way switch, place a testing light on all of the terminals. Test the inputs, the transitory signal, and the on status output next to it
Press the button for each of the test lights connected. The three-way switch is operational if all three of them separately activate the test light.
Step 3: Remove the Fuse
Remove the fuse and return to check the resistance levels. From the bilge pump as well as the switch itself.
Step 4: Check the Wiring and Resistance
Examine the wiring to determine whether everything is complete and ready to transmit electricity to the bilge pump.
Connect the black and green cables of the three-way switch with the inputs of a multimeter. The resistance should be less than 1 ohm.
Because the three-way switch’s flat resistance is 0.2, the resistance will be less than 1 ohm. The flat resistance is obtained by connecting the multimeter’s negative and positive leads.
Step 5: Check the Continuity With the Float Switch
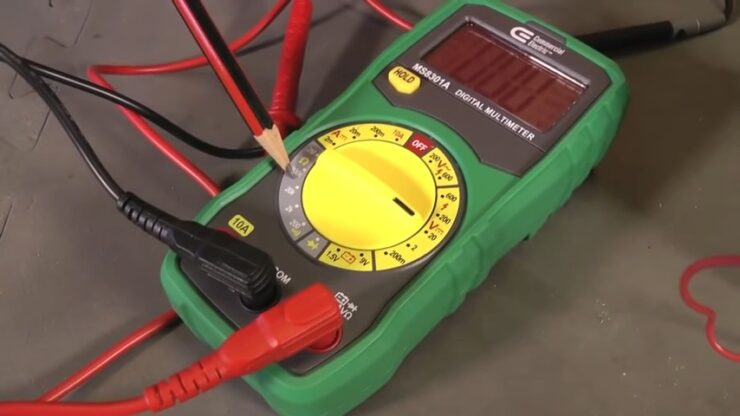
Put the multimeter to sound test to ensure the float switch is in working order. Connect the multimeter’s leads to the three-way switch’s white and green wires.
Raise the float switch and wait for a beep, which indicates that the bilge pump is operational.
Working with a totally sealed wire system that is heat shrunken and waterproof is ideal. When checking the wires, be cautious not to poke holes in them.
Since this might enable water to enter and ruin the wiring.
Automatic Bilge Pump Test: Alternative
The automatic bilge pump testing method involves-
- An Automated bilge pump along with an internal float switch.
- A standard on/off two-way switch with a battery connected.
This sort of bilge pump system is connected from the switch to the pump. Making it impossible to turn off. This is ideal for those who forget to operate their bilge pumps.
Step 1: Check if The Fuse Is Working
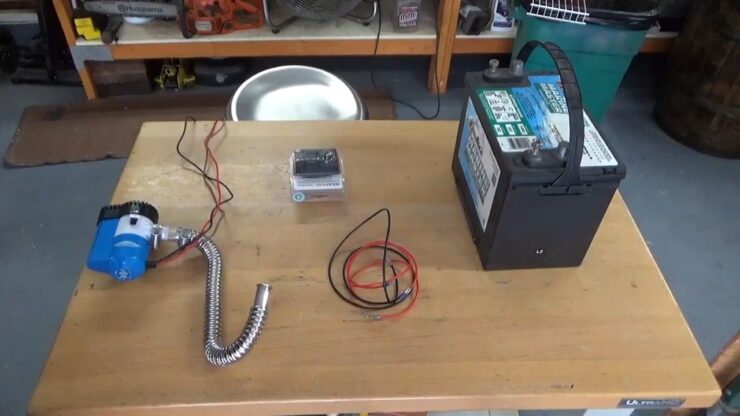
Make sure the fuse is the right size for the job. Check the loading end of the fuse with the test light to see whether it lights up. If it does, the fuse is operational.
Step 2: Make Sure the Two-Way Switch is Operational
Make sure the two-way switch is operational. To ensure that power is coming in, go to manual mode. Contact the manual end with the test light.
If the pump is functional, the test led will light up and the pump will switch on.
Step 3: Check if The Wiring is Correct
Remove the fuse before inspecting the motor’s wiring. Start from the negative side and work your way around the manual side of the motor.
The white wire should be connected to the negative. To demonstrate that the multimeter is operating, it should display less than 1 ohm.
Step 4: Check if The Motor is Running
Replace the fuse before testing the internal switch. Then manually flip on the two-way switch and wait for the pump’s motor to start.
After that, switch off the two-way switch. Look for a test dot on the bilge pump’s back. Hold your thumb on the test dot for five seconds, then hear for the motor to start.
Step 5: Test the Internal Float Switch
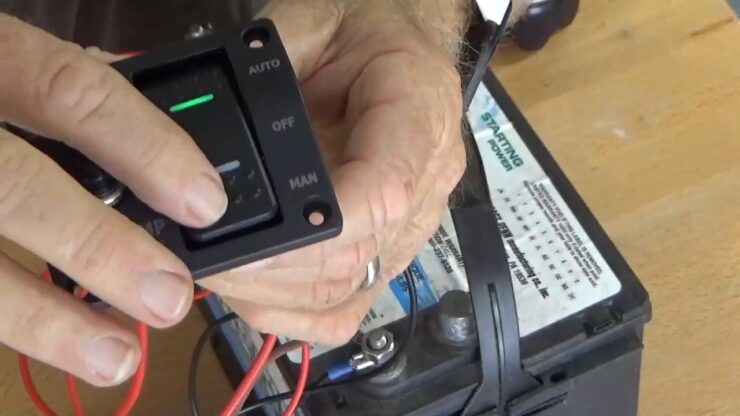
Fill a water bucket or other container halfway with water to perform an interior float switch test. The bilge pump should then be submerged in it.
Wait for the bilge pump to start for at least two seconds. Then wait for the bilge pump to begin pumping out water for another 4 seconds.
The internal float switch is broken and has to be replaced if the bilge pump does not start instantly. It should start pumping out water after being immersed for a few seconds. And if it’s pumping, the bilge pump is in good shape.
These internal floating switches have good reviews by the users and are durable. It should fix your issue.
FAQs
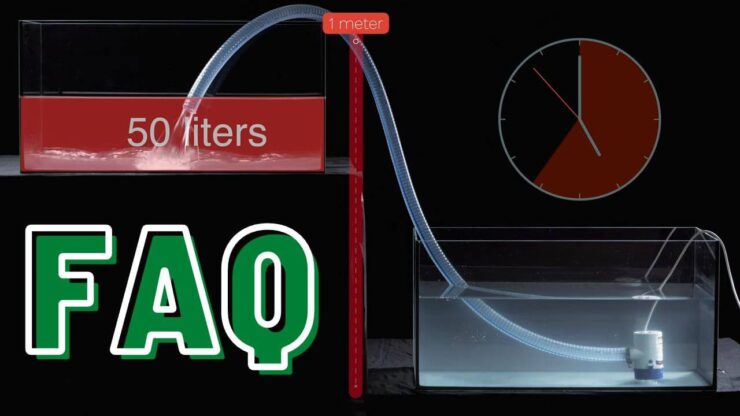
Is it possible to run a bilge pump without water?
Running the motor without any fluid water might cause the seal to break down quickly. As It won’t be lubricated or cooled. If the seal is ruptured, the motor will soon short-circuit inside and fail totally.
When should a bilge pump be turned on?
It should turn itself on every two minutes. Unless it has been pouring or you have been in choppy water, the bilge should be dry. Fill the bilge with water the next time it’s on the trailer, and keep an eye if it gets off the hull.
Is it necessary for my bilge to remain dry?
Your bilge can stay dry with proper preparation. You must prevent water from entering and remove any existing water. Most filling boxes will trickle water into the bilge, allowing it to build until the bilge pump can remove it.
What are the common causes of bilge pump failure?
Common causes of bilge pump failure include a faulty switch, a broken wiring connection, a clogged pump, and a faulty sensor.
How do I determine the correct size of bilge pump for my boat?
The correct size of bilge pump for your boat is determined by the size of your boat and the amount of water that needs to be pumped out. It is recommended that you consult with a professional to determine the correct size of bilge pump for your boat.
Conclusion
A bilge pump is a vital component of any boat, responsible for removing excess water from the bilge and preventing damage to other systems. To ensure that your bilge pump is functioning correctly, it is essential to test the system regularly and perform regular maintenance. By following the steps outlined in this walkthrough, you can test your bilge pump and ensure that
I’m Liam Jackson, the proud owner and driving force behind KayakPaddling.net. Born somewhere in the expansive beauty of the United States, I’ve nurtured a lifelong passion for kayaking and fishing that has led me to explore the far corners of our nation’s waterways.
Related Posts:
- 16 Best Kayak For Beginners 2024 - Kayaking Adventure Gear
- 10 Best Saltwater Fishing Boats - Ultimate Angling Adventure
- 17 Best Trolling Reels 2024 - Enjoy your Fishing Adventure
- 12 Best Water Socks in 2024 - Swim and Dive Tested
- 15 Best Baitcasting Reel Under $100 2024 - Improve…
- Heavy Duty Fishing: 11 Best Rods And Reels For Big Fish 2024

