You are preparing for a good weekend. Suddenly, you noticed water not coming out of your outboard motor. It’s quite normal to worry about it because it’s an expensive thing. You’re attempting to figure out why it’s happening.
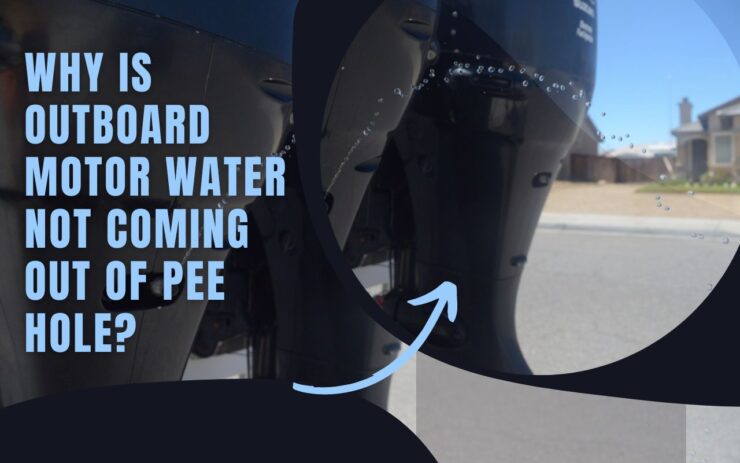
So, why is outboard motor water not coming out of pee hole?
If water is not flowing from your outboard engine, first inspect the motor impeller for issues. After that, evaluate the water consumption of your motor.
After you’ve completed these two processes, look at the water output and thermostat. There are several steps you must take to replace it.
That was just a hint of the question you asked. Spend some time reading the entire article. I guarantee you that you will not be disappointed. Let’s get this party started.
Table of Contents
ToggleWhy is Outboard Motor Water Not Coming Out of Pee Hole?
Outboard motors do not require a complex system to move water through the engine’s cooling tubes. The straightforward design guarantees that the temperature is constant.
It needs to be kept stable, and the engine shouldn’t overheat.
If you discover that water is no longer flowing, take action before severe harm occurs. There are four measures you should take right now.
Step 1: Examine the Water Motor Impeller
The majority of poor circulation and engine overheating is caused by a malfunctioning automatic water impeller. This small, round disc’s revolving blades move water through the apparatus.
Step 2: Assess the Water Intake
With the boat motor turned off, look for any material which may be stuck inside. Garbage or plants, for example, might be restricting water intake.
If you notice a foreign object stuck in the motor, remove it right away. Then, restart the engine to verify whether the issue has been rectified.
Step 3: Examine the Water Output
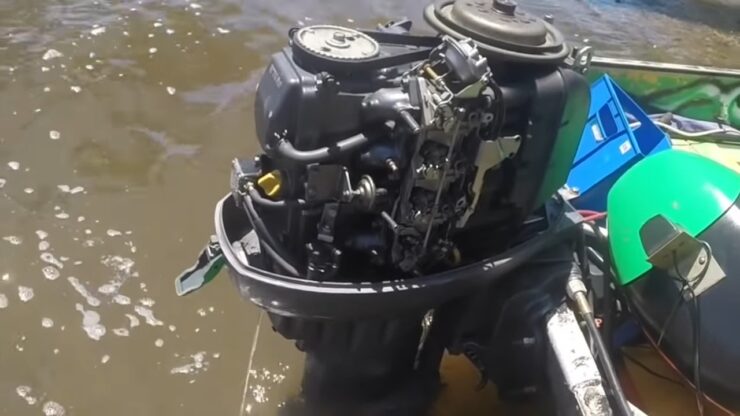
The vast majority of outboard motors have variable water output. This little tube is readily clogged. It can also happen if you have a 2 pole motor or a 4 pole motor.
When this occurs, the water flow is disrupted, causing engine issues. Pass a tiny piece of wire through the output.
Move it around to get rid of any material that has accumulated within.
Step 4: Examine the Thermostat
While this is not a typical problem, it is worth investigating. The motor isn’t getting heated enough to sustain temperature. You should change the outboard thermostat right away. You risk entirely ruining the power head if you don’t.
When Should You Replace Your Outboard Water Motor?
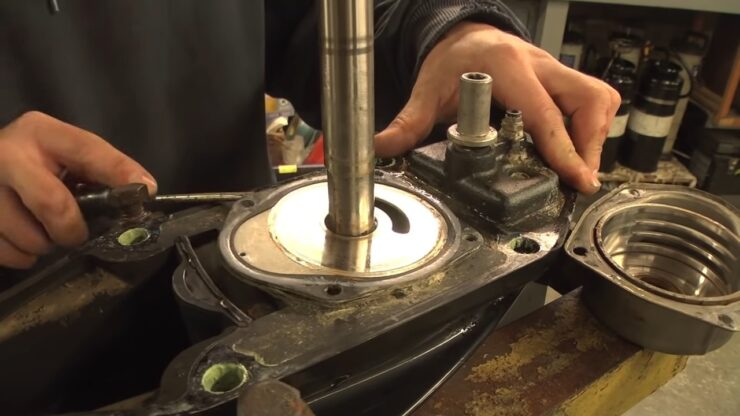
It completely depends on how you utilize it and what the distributor suggests. The water pump does not need to be changed. However, the shaft should be replaced as soon as possible.
You may run narrow and pull a lot of sand. For example, you may need to repair the shaft more frequently than on comparable boats. A number of companies and technicians recommend not using the current shaft for more than 3 years.
Instead, the fasteners on the bottom unit may fail, causing further wear on the impeller.
Others advise changing the impeller every year just to be cautious.
How Much Does an Outboard Water Motor Replacement Cost?
The cost of an outboard water motor replacement can vary depending on several factors, including the make and model of the motor, the size of the motor, and the complexity of the installation.
Here are some of the main factors that can affect the cost of an outboard water motor replacement:
Size of the motor
Generally, the larger the motor, the more expensive it will be to replace. For example, a small 10-horsepower motor may cost a few thousand dollars to replace, while a larger 300-horsepower motor could cost tens of thousands of dollars.
Type of motor
The type of motor can also affect the cost. For example, two-stroke motors tend to be less expensive than four-stroke motors due to their simpler design and fewer parts.
Brand and model
The brand and model of the motor can also have a significant impact on the cost of replacement. High-end models from well-known brands can cost significantly more than entry-level models from lesser-known manufacturers.
Installation
The cost of installation can vary depending on the complexity of the installation and the labor rates in your area.
For example, if the motor is being replaced on a larger boat with a more complex electrical system, the installation could be more expensive.
Most water motor repair kits cost less than $100 and include the shaft. You may save a lot of money if you build it yourself.
Otherwise, a store may charge you an hour or two, resulting in an hourly rate. And the fee ranges from $100 to $350, based on where you go.
If you decide to conduct your own outboard water service, these are the steps to take.
Step 1: Remove the Oil
Begin by emptying the gearbox’s oil. Using a large screwdriver, remove the drain stopper. Assemble a pan beneath to capture the oil. To let air into the engine, remove the upper oil-level cap as well.
Step 2: Remove the Nuts
Loosen all of the nuts that are keeping the bottom unit together. The majority of outboards feature four to seven nuts or bolts. If your adapter does not fit, a ring wrench will suffice.
A wrench is one of the important tools. You must have it at home. If you still don’t have it in your home, check these products out to buy them.
It will be helpful for a quick fix, and it is quite reasonable.
Uninstall the lowest unit if it’s available. Sometimes, a few strokes with a gentle mallet may be required. Just don’t touch the turbulence plates on the flanges or they’ll shatter.
Step 3: Remove the Seal
When the bottom is empty, turn on the pump. Remove the cover that’s lying on top of the outer casing.
Step 4: Remove the Motor Body Screws
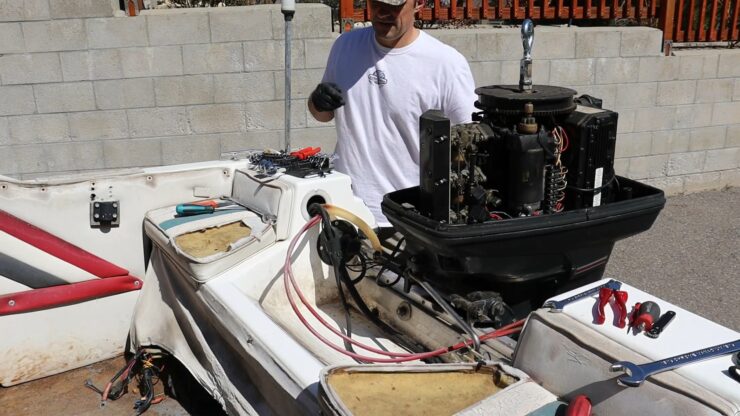
With a ring wrench, remove the screws that keep the motor casing in place. If the motor hasn’t been maintained in quite some time.
As a result, you might need to use an impact wrench rather. Under no conditions may the bolts be removed using an open-ended wrench.
This is due to applying too much force to the bolt head. It makes it easier to snap the head off, which creates a whole new problem! Disassemble the housing. It should slide up the shafts. Make certain that the plate is removed.
Step 5: Examine the Impeller
The impeller’s vanes must all be undamaged and upright. If they need to be changed, now is the time to do so. Also, we need to know if the brushless motor is connected or not.
Step 6: Scrub the Surfaces
Consider taking the time to thoroughly wash all of the machined surfaces. This approach assures that there are no leaks. If you need to remove considerable amounts of caulk or gaskets, use a fine, sharp knife.
Fine emery paper should be enough for minor pollutants. After you’re done, clean it up with a dry cloth. Clean the interior of the pump housing after that. No gouges or scoring markings are permitted.
Step 7: Replace Old Parts with New Parts
A water pump repair kit includes a new shaft as well as seals, O-rings, and gaskets.
After cleaning, reassembly using the new components. Apply some gasket binding material to the cover and drop it into position.
Check that each hole is correctly aligned. You also need to put in a new key. This fits into the shaft’s flat section.
When installing a new impeller, align the way in the hub with the formerly used key.
You may also use glycerin or cleaning detergent to help you get the valve lid on. This also acts as a lubricant for the gear before the water enters the pump. Use silicone at all costs.
Step 8: Rearrange
While sliding the house down, rotate the shaft around. This action permits the blades to twist. While the pump’s body is fully seated on its base plate gasket.
Replace all of the bolts and tighten them until they are snug. Slide the replacement seal into place against the outer casing.
The package should also contain a fixing tool. That will be used to press down on the top of the gasket. This not only spreads it out but also prevents too much pressure.
FAQs
Should the water flowing from the outboard be hot?
If the engine is at working temperature, the water should be hot. It’s nearly the same temperature as the water flowing out of a hot water heater. The delay is typical since water drains from the block when the engine is turned off.
Where do the fumes from an outboard motor exit?
The majority of an outboard’s power is released through the propeller’s bottom fin. When the boat is launched, vapours appear from the propellers.
This exhaust is also combined with the cooling system water. It circulates through the engine before being lifted up by the exhaust.
How long can an outboard motor operate without water?
Without a water supply, the outboard motor’s water pump will be ruined in a matter of seconds. It may be possible to go a few minutes without harm. Based on the scale of the outboard motor and the surrounding temperature.
Conclusion
I hope you got your answers about the outboard motor water not coming out of pee hole. You will definitely find your problems solved by this article. I also provide a solution to fix or replace it.
Finding out the reason and fixing it accordingly is really important. Otherwise, you can destroy the whole system. Be careful when you work with it. If you are confused, try to get an expert’s help.
I’m Liam Jackson, the proud owner and driving force behind KayakPaddling.net. Born somewhere in the expansive beauty of the United States, I’ve nurtured a lifelong passion for kayaking and fishing that has led me to explore the far corners of our nation’s waterways.
Related Posts:
- 16 Best Kayak For Beginners 2024 - Kayaking Adventure Gear
- How to Stay Safe on Slow Moving Waters When Paddle Boarding?
- 12 Best Water Socks in 2024 - Swim and Dive Tested
- 10 Best Fish Finders Under $200 2024 - Top Affordable Picks
- 16 Best Kayak Fishing Paddles 2024 - Affordable Fishing Gear
- 12 Best Beach Wagons & Carts 2024 - For All-Terrain

