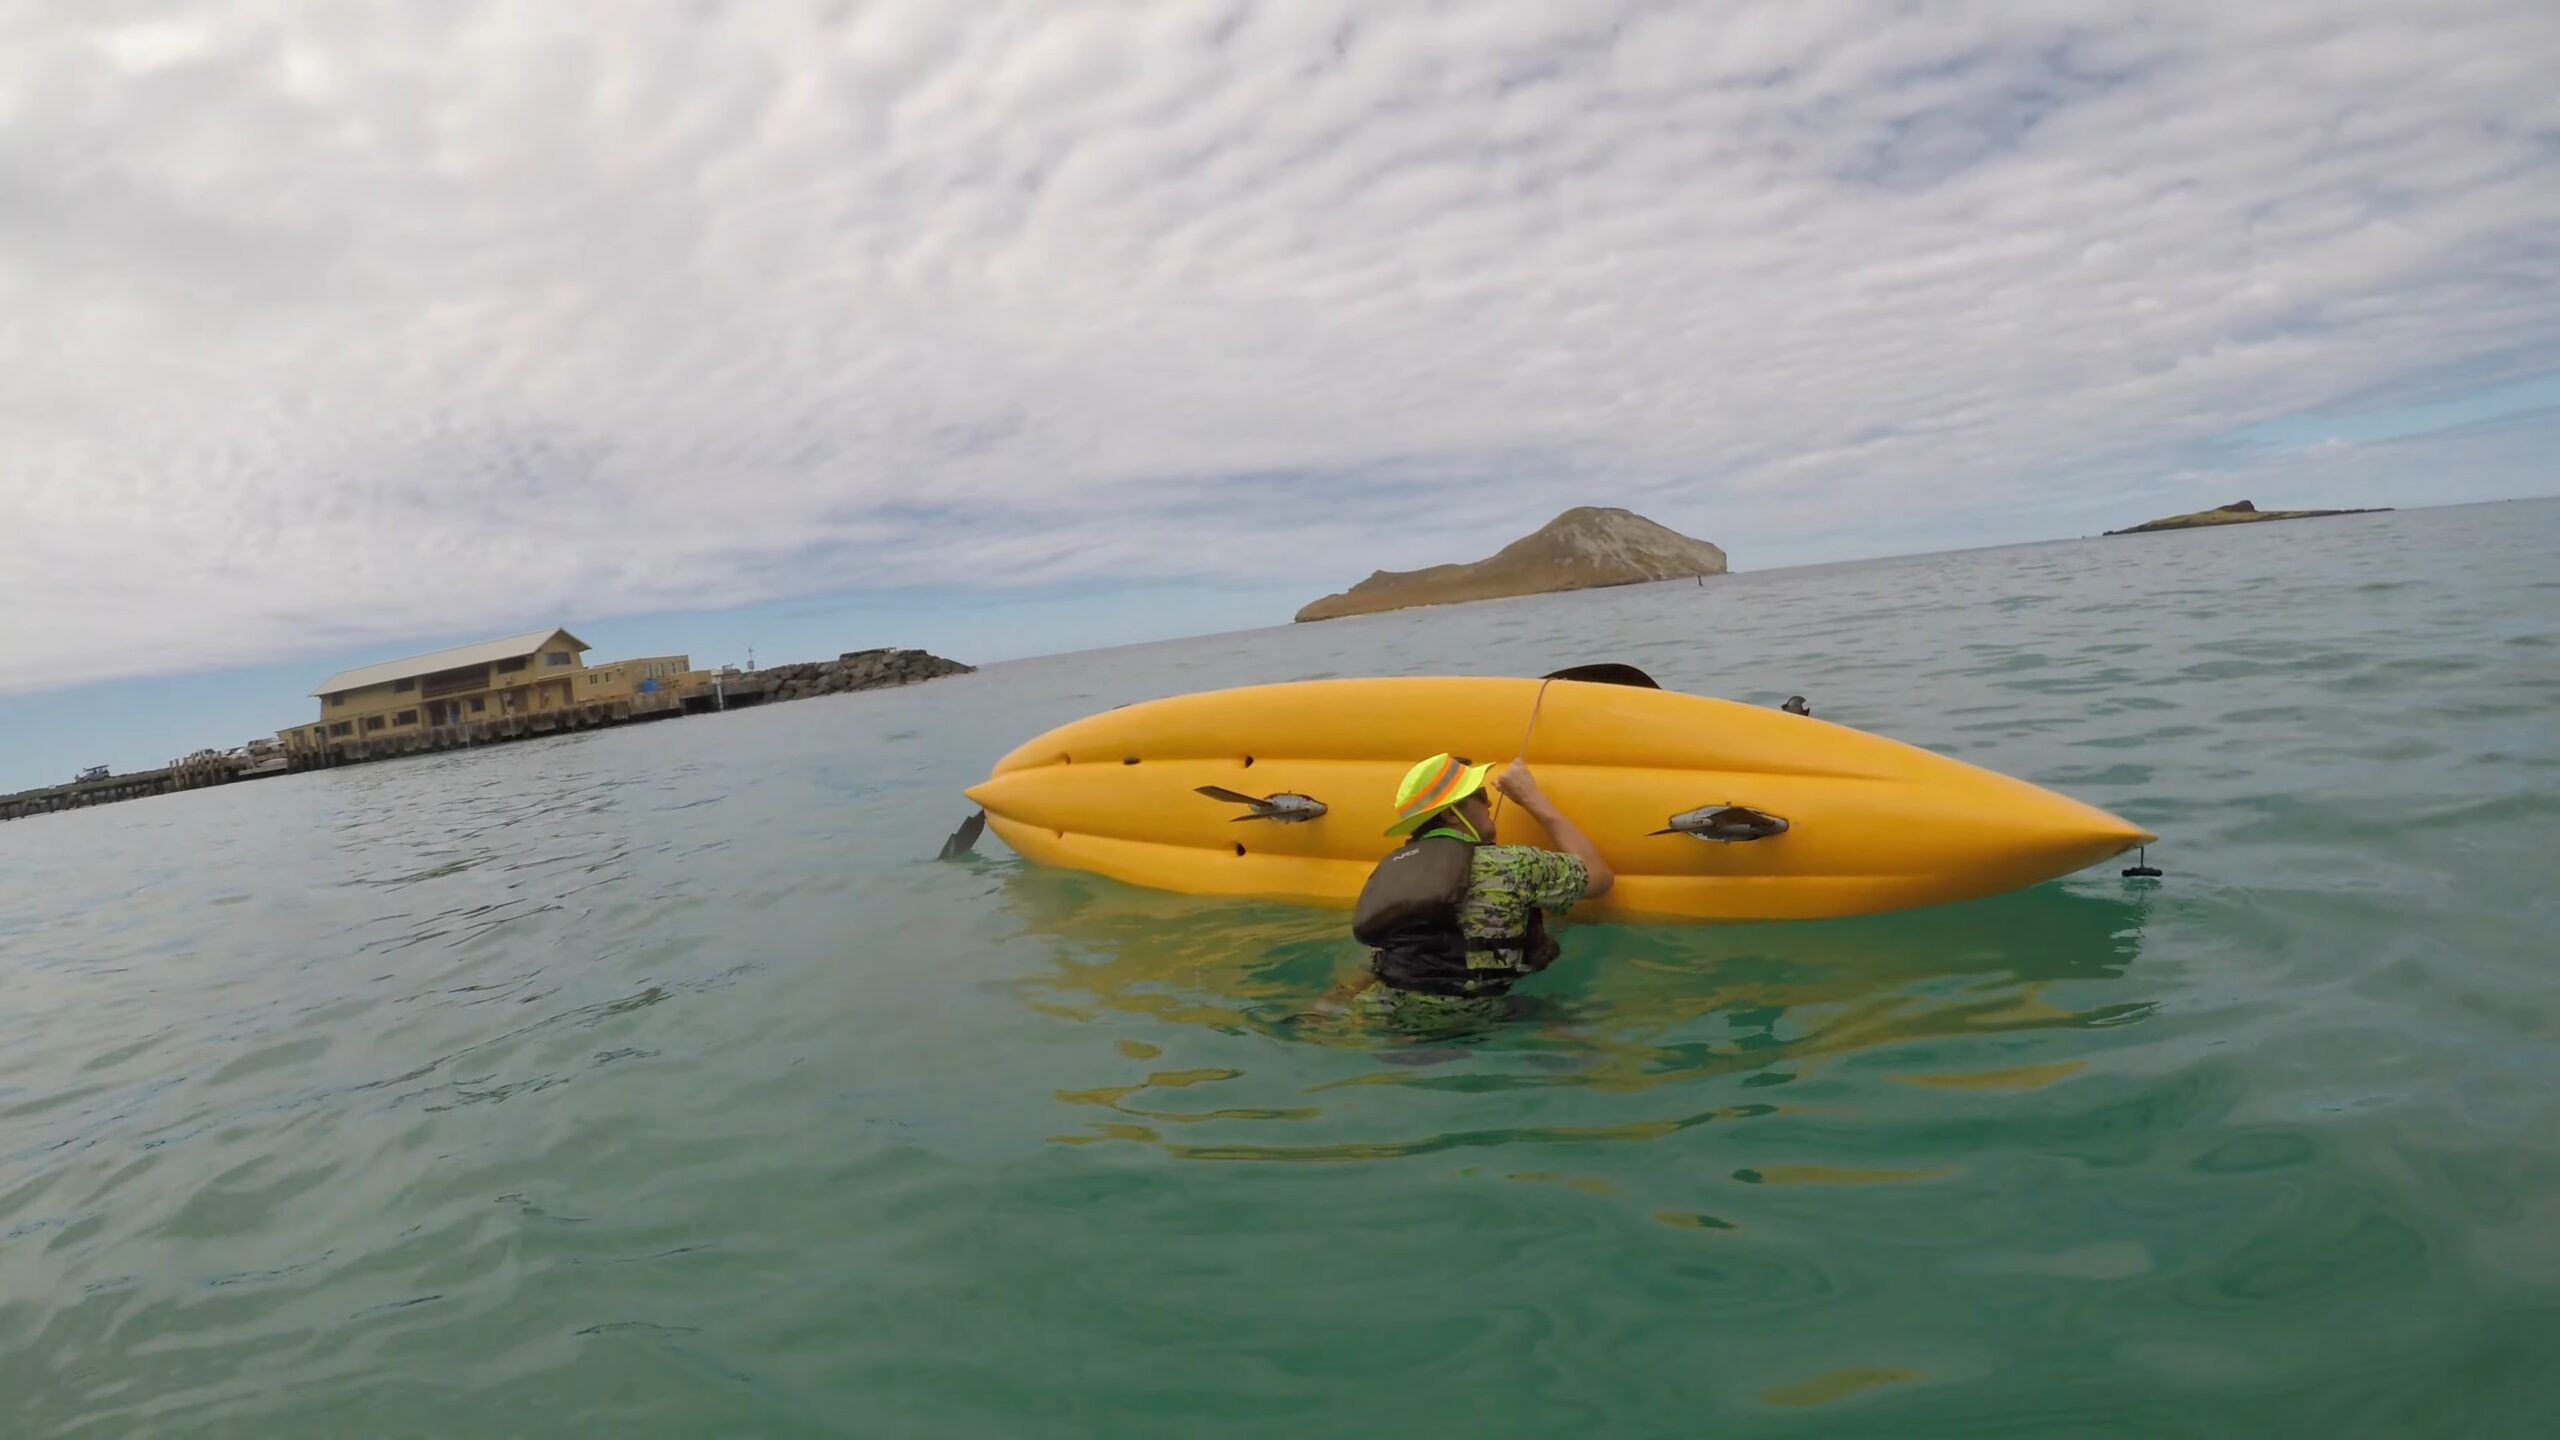
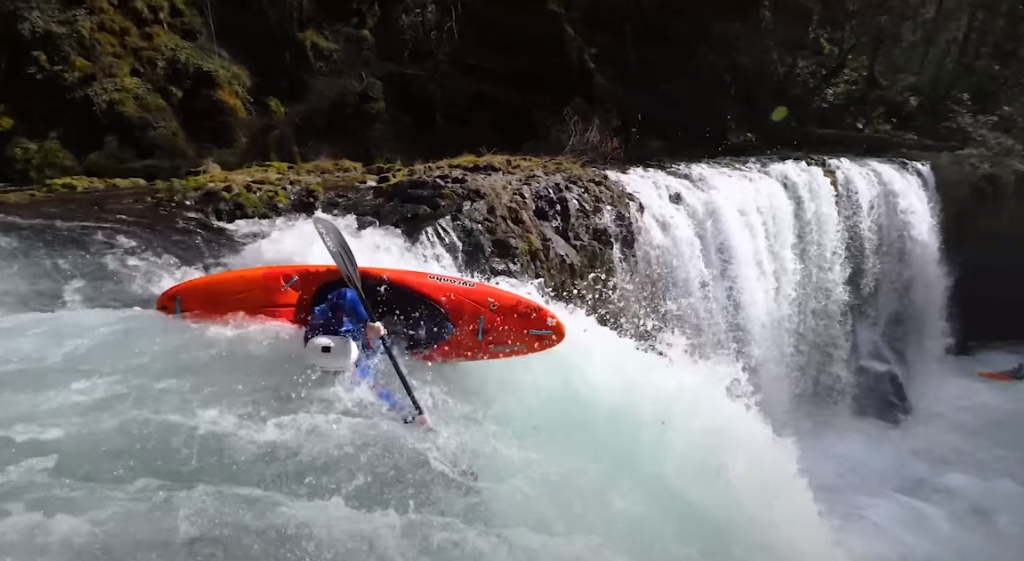
The surest way to fall into the water when kayaking is if your kayak capsizes. While that might seem obvious, capsizing only takes place after you have developed momentum in a forward direction and are attempting to change directions or slow down.
It’s easy to develop bad habits, even with the best of precautions, but by being aware of them you can proactively avoid their consequences. This article will show you what to do if your kayak capsizes so you may help reduce the chance of capsize-related accidents occurring.
Table of Contents
ToggleWhy Does Capsizing Happen?
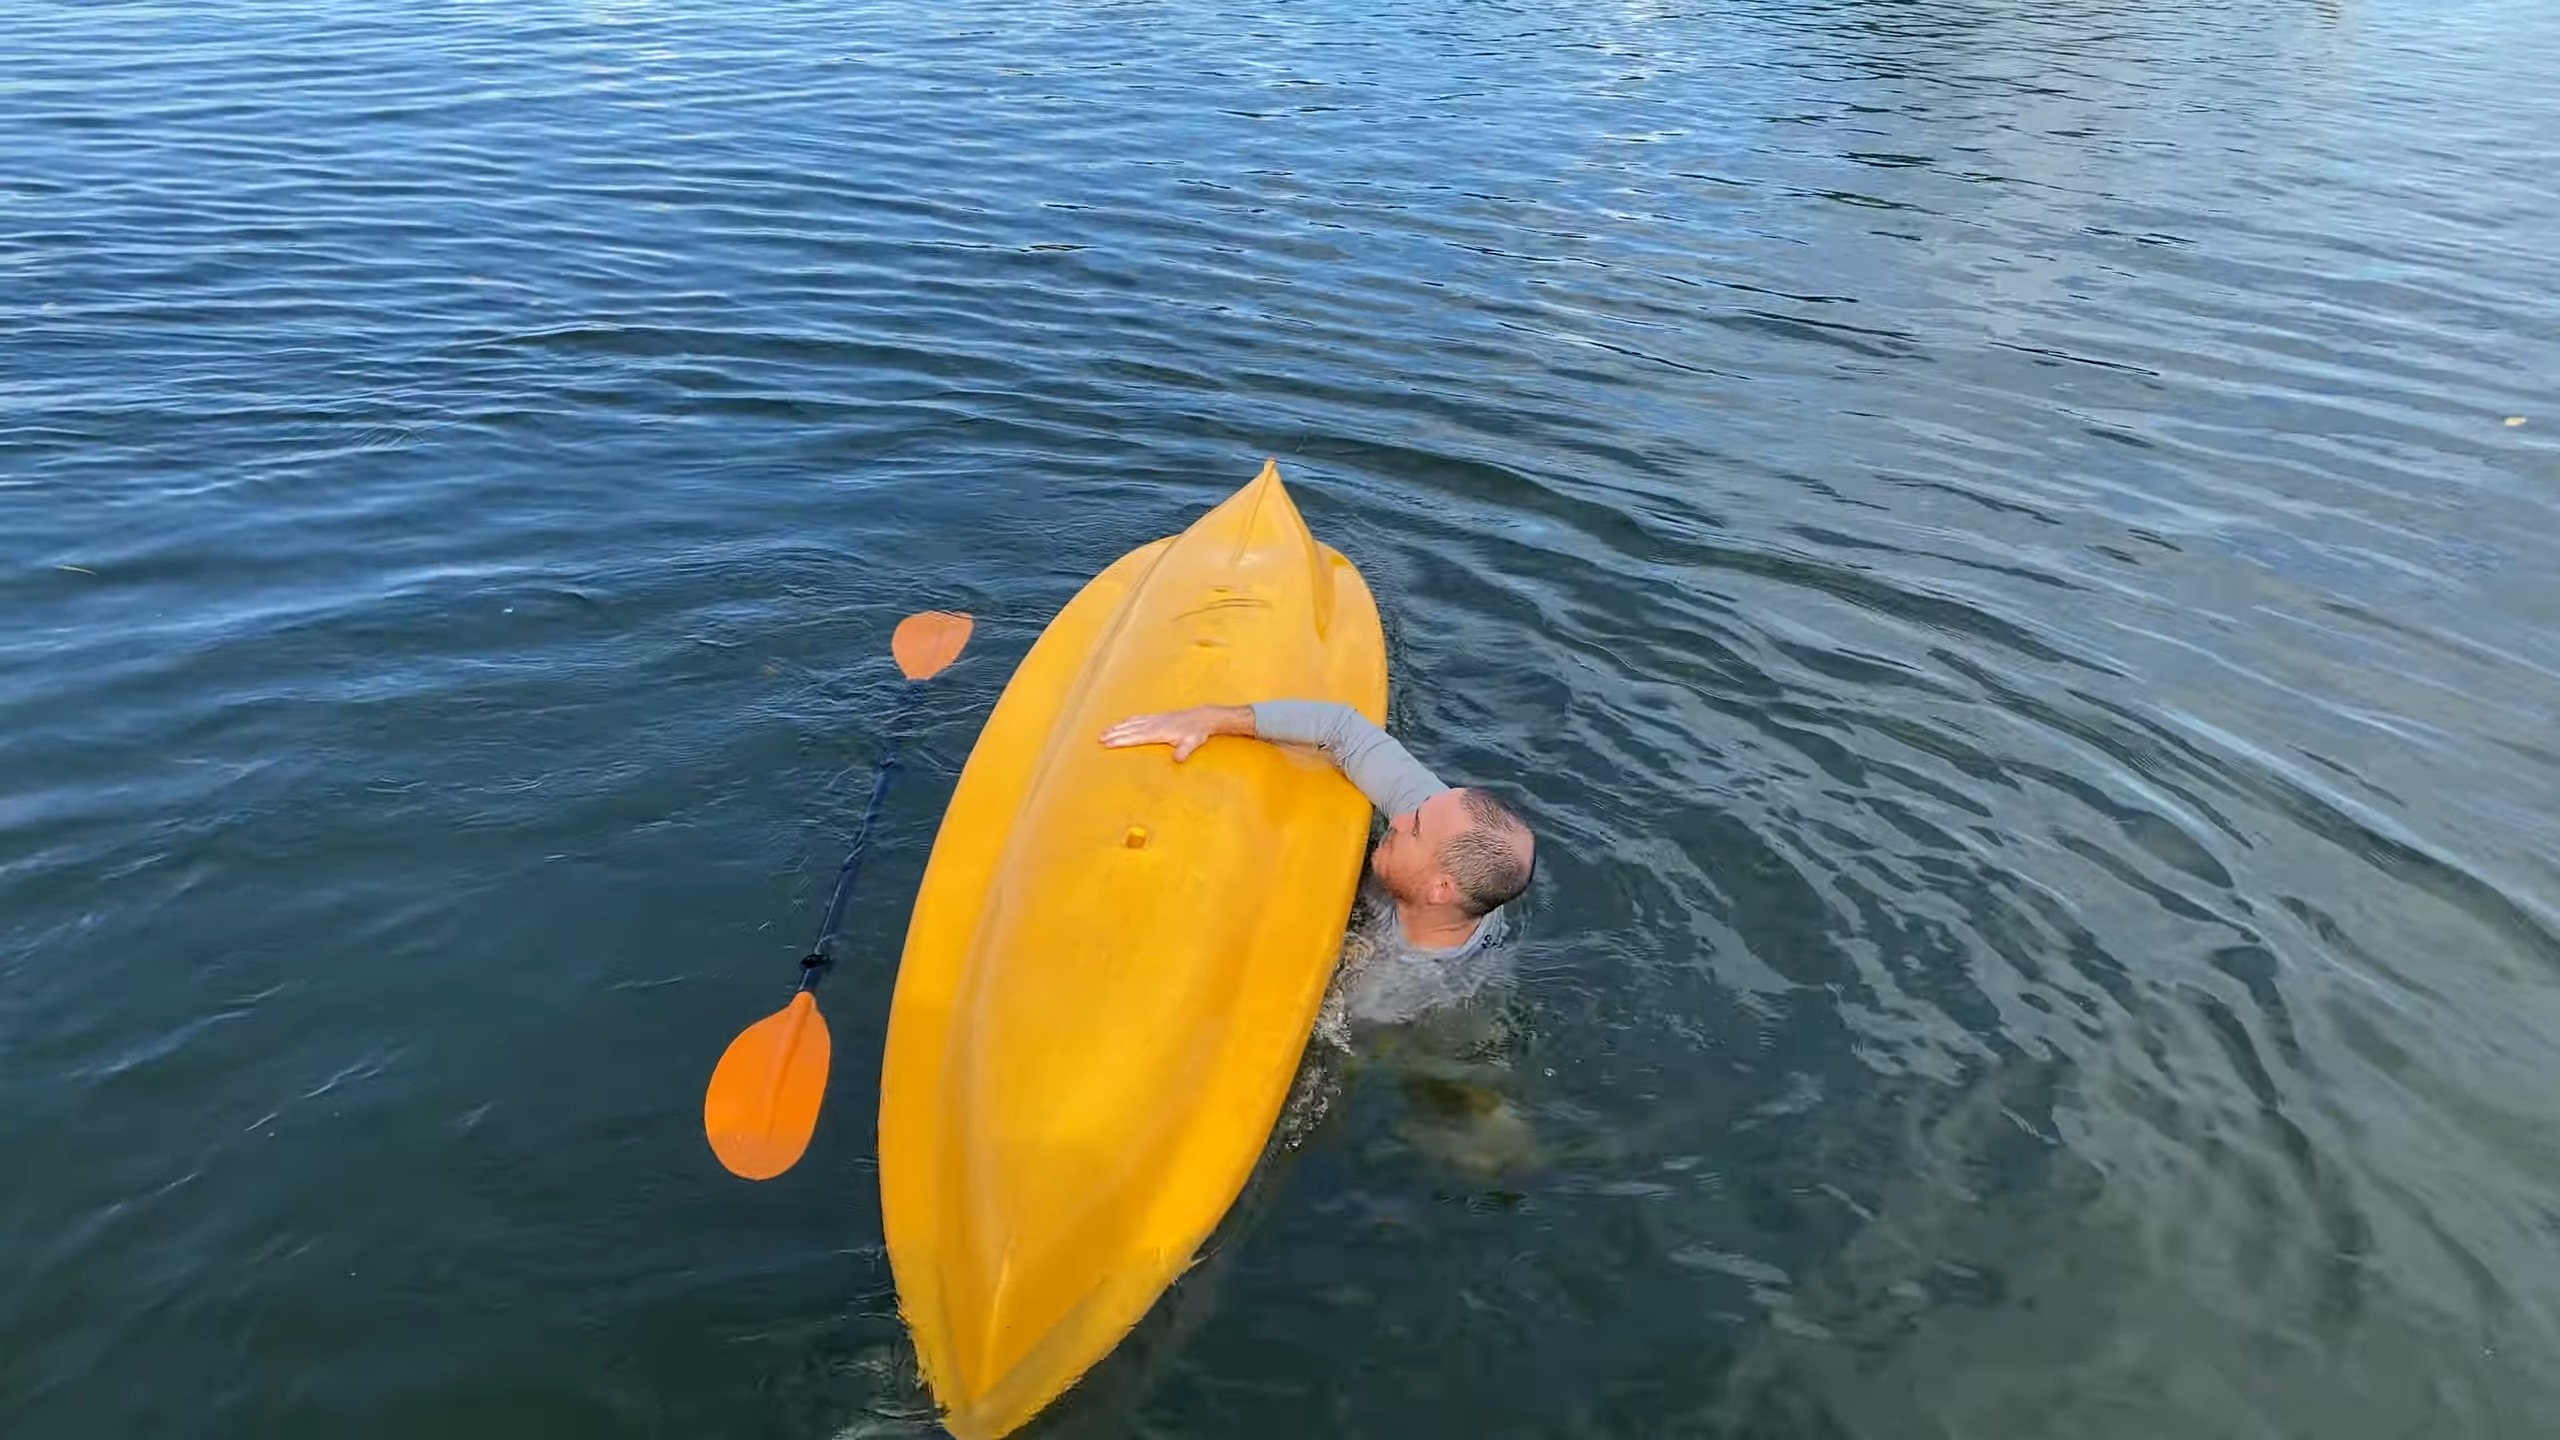
Before we go over the steps involved in righting yourself after a wet exit it is important to know why your boat capsized in the first place. Capsizing mostly occurs because of poor boat control, but there are plenty of other reasons your kayak could be upside down.
- Environmental Factors: Strong currents, winds, and waves can contribute to capsizing.
- Kayak Design: The type of kayak you use affects stability. Narrower, faster kayaks are more prone to tipping.
- Skill Level: Inexperienced kayakers might struggle with maintaining balance.
Your chances of sinking due to a capsize go up if you do not have a buoyancy aid rescue PFD with an integrated spray skirt, meaning the top half of your body is now exposed to the water.
Step 1 – Stay Calm!
The first and most crucial step is to remain calm. Panic can cloud your judgment and make the situation worse. Then, assess your situation, and quickly determine if you are injured and if it’s safe to proceed with righting the kayak.
Performing the Wet Exit
If your kayak takes on water, a wet exit can save you from sinking and drowning. Here’s what to do:
- First, check to make sure the situation is actually an emergency. If you are in a group of other paddlers, shout “man overboard” or anything else that indicates an emergency to your fellow boaters.
- Quickly look back over your shoulder towards the rear of the boat for any obstructions behind you such as rods or paddle floats. Pull them out of the way if necessary so they don’t get caught up in your legs while performing a wet exit.
- Keep one hand on the paddle shaft near the blade while holding onto the grab loop, then step backward with one leg and place one foot firmly against a part of the boat frame, near the center of the kayak.
- If you are wearing a sprayskirt, release it while attempting to get both feet on either side of the cockpit so you can push yourself out over the edge. Pull up on your leg that is closest to the boat frame while pushing down with your other leg against the bottom rear of the kayak very close to where it joins at the seat.
- Continue pulling upwards with one arm and pushing downwards on the floor behind you with one foot until you push yourself free from under your deck line.
- Quickly follow through by turning around and swimming away from underneath any unoccupied kayaks nearby so they don’t fall back over the top of you as you swim. If you are falling towards the water, try to place your feet down first before hitting the water. This can help prevent injury which can be dangerous if your kayak is still attached.
- If you are not wearing a sprayskirt, then once one leg is free of underneath the cockpit rim it should automatically release from its track. Allowing this to happen should cause whatever other foot is inside the boat while trying to get out to fall overtop of the kayak rather than being trapped under because of its weight.
Techniques for Righting the Kayak
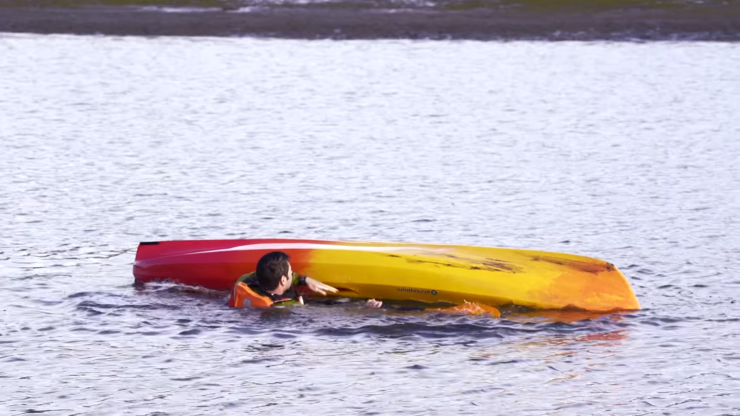
If self-rescue is viable, proceed to right the kayak. Reach across the bottom of the kayak and pull it towards you. Use your body weight to assist in flipping the kayak.
Re-Entering the Kayak
Once the kayak is righted, re-enter it carefully.
- Approach from the Side: Approach the kayak from the side, near the cockpit.
- Use the Paddle for Stability: Place the paddle across the kayak and use it for support.
- Legs First: Slide your legs into the cockpit, then lift your body in.
Seeking Assistance
If self-rescue isn’t possible, signal for help. Use a Whistle, three sharp blasts are a universal signal for help. Use brightly colored gear or flares to attract attention.
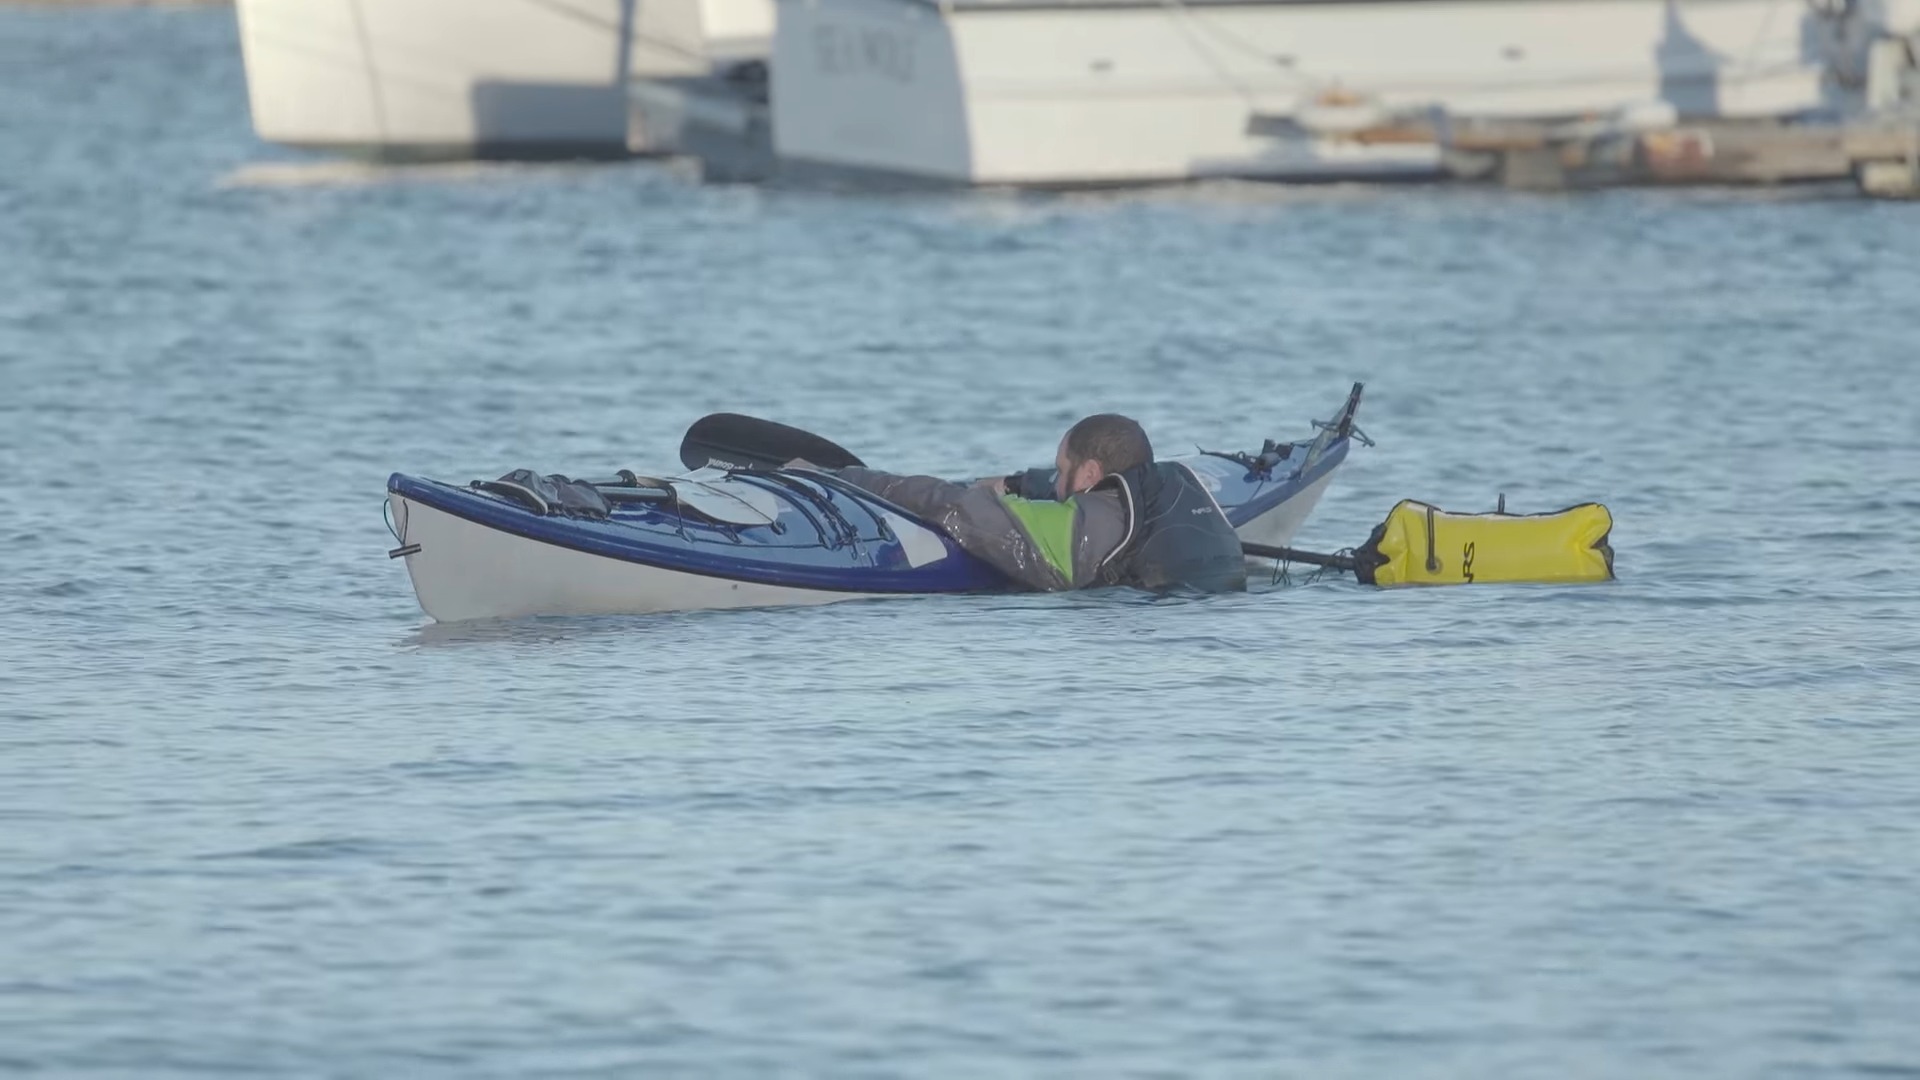
Always stay with your kayak, as it’s easier to spot than a person in the water. A kayak is more visible to rescuers. Also, it provides additional buoyancy and a rest platform.
Conserving Energy
Conserve your energy while waiting for help. Keep as much of your body out of the water as possible. Avoid unnecessary movements to conserve energy.
Post-Rescue Considerations
Once rescued, immediately assess your health and safety.
- Check for Injuries: Address any injuries, even minor ones.
- Hypothermia Risk: Be aware of the signs of hypothermia.
Learning from the Experience
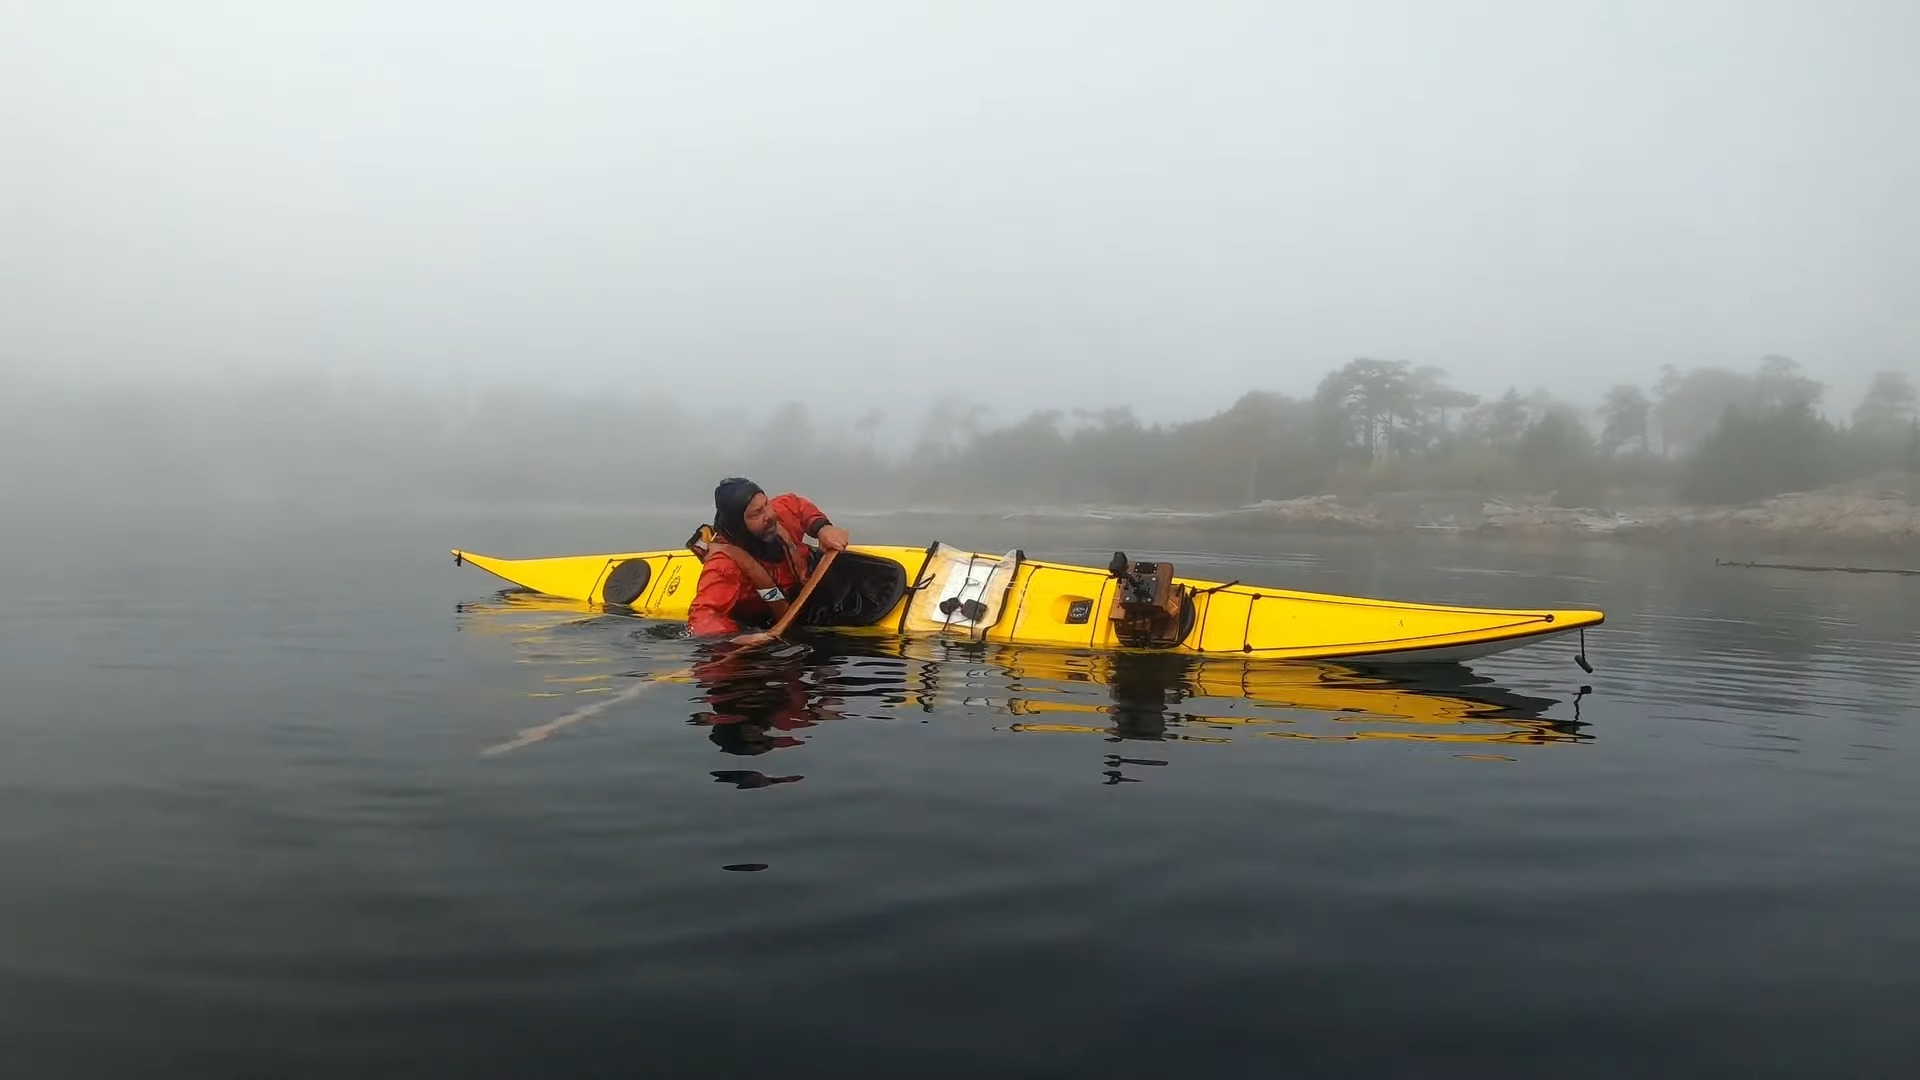
Reflect on the experience to improve future kayaking practices. Understand what led to the capsizing, and work on improving your kayaking and self-rescue skills. Additionally, share your experience with other kayakers to promote safety awareness.
Your experience can be a valuable lesson for others. Advocate for regular practice and safety gear usage.
FAQs
Can a kayak capsize in calm water?
Yes, it can! Factors like sudden movements, improper weight distribution, or loss of balance can cause a kayak to tip over, regardless of water conditions.
Is it safer to kayak alone or with a group in terms of capsizing risk?
Kayaking with a group is generally safer in terms of capsizing risk. Having others nearby can provide immediate assistance in righting the kayak and re-entering it. Solo kayakers should be well-prepared and experienced in self-rescue techniques.
How does the design of a kayak influence its stability and capsizing risk?
The design of a kayak greatly influences its stability. Wider kayaks offer more stability and are less prone to capsizing, while narrow, streamlined kayaks are faster but more susceptible to tipping over, especially for inexperienced paddlers.
What should you do with your belongings if your kayak capsizes?
If your kayak capsizes, it’s important to have your belongings secured in waterproof compartments or bags. This prevents loss and damage. It’s also wise to have key items like emergency gear attached to your person or the kayak.
How does wearing a life jacket help in a kayak capsizing situation?
Wearing a life jacket is crucial in a capsizing situation. It provides buoyancy, keeping you afloat and reducing the risk of drowning, especially in rough or deep waters. It also helps conserve energy during self-rescue efforts.
Summary
Capsizing isn’t a failure; it’s a part of the kayaking experience. Each time you recover, you become a more skilled and confident kayaker.
I remember the first time my kayak flipped over. The shock of the cold water was immediate, but so was the realization that I needed to stay calm. This experience taught me not only about kayaking but also about handling life’s unexpected turns.
In those moments, surrounded by water, I learned two crucial lessons. First, the importance of preparation – knowing the steps to right the kayak and get back in was invaluable. Second, the power of staying calm under pressure. Panic only makes the situation harder, but with a clear mind, you can navigate through the most challenging circumstances.
Adelaide Gentry, a seasoned kayaking enthusiast and expert, is the driving force behind KayakPaddling.net. With over a decade of experience navigating the world’s most challenging waterways, Adelaide combines her passion for adventure with a deep knowledge of kayaking to provide insightful and practical guidance for paddlers of all levels.
Related Posts:
- 16 Best Kayak For Beginners 2024 - Kayaking Adventure Gear
- 16 Best Kayak Fishing Paddles 2024 - Affordable Fishing Gear
- 12 Best Beach Wagons & Carts 2024 - For All-Terrain
- 13 Best Fishing Kayak Under $500 in 2024 -…
- 10 Best Fish Finders Under $200 2024 - Top Affordable Picks
- How to Stay Safe on Slow Moving Waters When Paddle Boarding?

